From Dark and Darker Wiki
Alpha Disclaimer
- Dark and Darker is presently in Alpha state of development. Features will be added and removed, thus the current state of the game is not representative of the final product.
- Many of the systems in the game are not yet finished and are in a placeholder state. Mechanics may break or not function as intended.
Getting Started
Currently, the game can only be played during scheduled playtests. Once a playtest is ongoing, simply request access on the game's steam page and download the game.
Once you start the game, you will be presented with the Character Creation screen. You will have to create a character to be able to click the "Enter the Lobby" button. Currently, there is no limit for character creation. You can also check the official guide by Ironmace and Dungeon guide.
What Class to Pick
There are currently 6 unique classes to pick from. In here we will briefly share what you need to know about each class. For more in-depth guides check Classes.
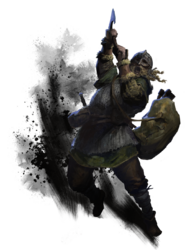
Barbarian
- Pros
- Highest base health combined with a high melee damage.
- Highest base magic resistance when equipping the Iron Will perk.
- Increased proficiency with axe type melee weapons and thrown axe weapons
- Can equip a perk that allows breaking unreinforced doors and chests.
- Fast room clearing ability.
- Strong buff and debuff skills.
- Cons
- Very slow interaction speed, attack speed and base movement speed.
- Limited combat healing.
- Limited ranged options.
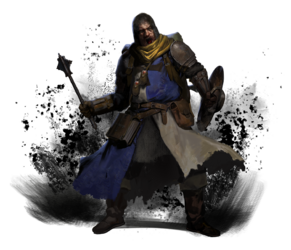
Cleric
- Pros
- Only class with the ability to heal others and to resurrect fallen allies, without the need of a Sacrificial Altar.
- Access to powerful buffs and protection spells.
- Beginner friendly due to having access to healing, allowing him and his team to take a couple of hits without being in danger.
- Good room clearing ability.
- Able to wield shields.
- Cons
- Slow attack speed and slowest base interaction speed.
- Limited choices of melee weapons and no ranged options.
- Unable to regenerate spells like Wizards, resting at a campfire is necessary.
- Slow base spell casting speed.
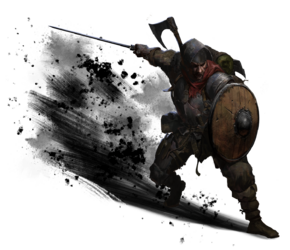
Fighter
- Pros
- Cons
- Jack of all trades, master of none.
- Some skills are single use.
- Blocking and parrying, which are a big part of his kit, are difficult to pull off consistently due to the directional blocking system.
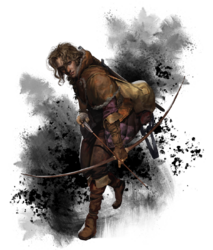
Ranger
- Pros
- High ranged damage output.
- Able to track fresh enemy footprints via the Tracking perk.
- Able to set bear traps to lock down enemies in place.
- Starts with a campfire, however, it's of the worst quality.
- Great room clearing ability without putting himself at risk.
- Cons
- Bad at close quarter fights.
- Needs to frequently reload his quiver.
- Limited choices for melee weapons.
- Reloading your quiver slows you down significantly.
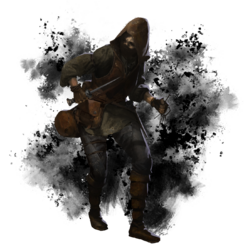
Rogue
- Pros
- Fastest class, has very high interaction speed, attack speed and base movement speed.
- Unlimited lockpicking ability through the Lockpick Expert perk.
- Can detect and disable traps.
- Invisibility skill lasts for a long time, allowing him to avoid encounters or setup ambushes.
- Strong poison damage output.
- Cons
- Limited range from daggers, Rapier is the longest reach weapon he can equip, but has much lower damage than it's dagger counterparts.
- Low health requiring good decision making skills.
- Limited ranged options.
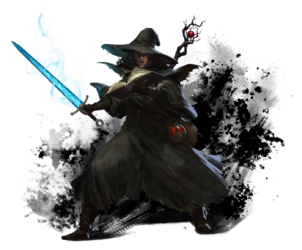
Wizard
- Pros
- Access to powerful spells that allow for a versatile play style.
- High single and multi target magic damage output.
- Temporarily high movement speed from Invisibility and Haste.
- Able to replenish spell casts through the Meditation skill.
- Can become invisible to re-position and setup ambushes.
- Cons
- Very low physical damage.
- Lowest health in the game.
- Vulnerable during a long time when meditating.
- Limited by the amount of available spell casts, which requires to meditate frequently to replenish them.
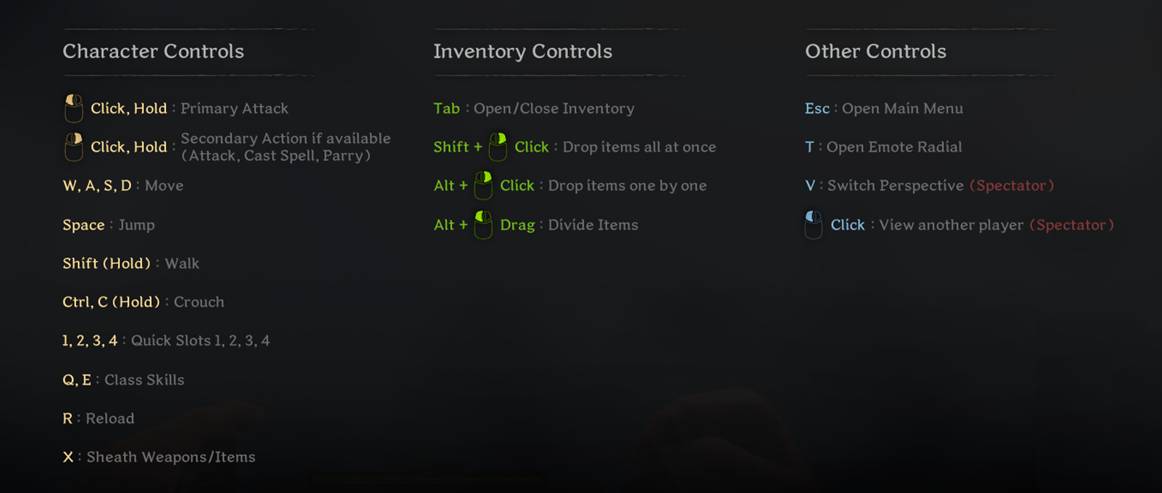
Controls
Weapon Move sets
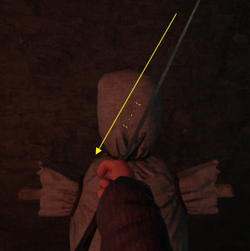
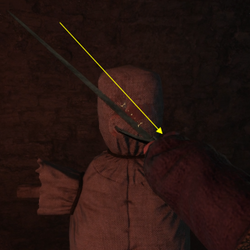
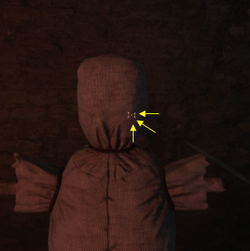
Each weapon has its own unique move set and range. Practice and memorize them to your advantage. Some weapons have 2 unique attack move sets, one with the left mouse click and another with the right mouse click.
The arming sword for example has a 3-motion attack sequence. Holding down the primary attack button will go through the attack sequentially until it is interrupted. If the enemy is wielding an arming sword, knowing this sequence can help you evade their attack.
Blocking/Parry System
Shields and some melee weapons have a block ability. However, simply holding block does not fully protect you from frontal attacks like in other games. To complete a successful block, you need to intercept their weapon or projectiles with your shield/weapon.
You also need to be careful to fully conceal your body parts, because even if you manage to block a hit, the weapon's hitbox can extend past your shield and hit you on uncovered body parts. Therefore, distance management is equally as important as blocking in the right direction. With this in mind, larger shields will offer a higher degree of protection due their their bigger sizes.
Currently, the only weapon that can execute a parry is the Longsword. If you successfully block an attack with the Longsword, you can quickly follow up with a higher damaging 2-sting riposte animation by clicking or holding the left mouse button.
Blocking and parrying requires a great amount of practice to pull of consistently, as you need to develop the spatial awareness around your shield/weapon as well as know your opponents weapon's move sets.
Check out Oggieson's Youtube Channel, he has made detailed videos showing how to block and parry with different weapons against most enemy types.
Body Part Damage Modifiers
Every attack, be it melee, ranged physical projectile or magic spell will scale with damage modifiers depending on the body part that was hit.
- Head hits deal 150% damage
- Torso hits deal 100% damage
- Limb hits deal 50% damage
This system affects player characters as well as AI monsters.
Utility Quick-Slots
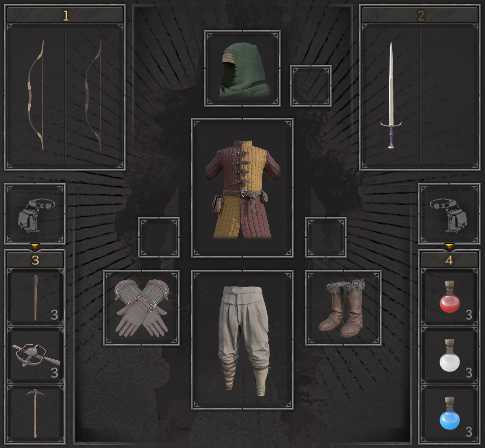
Every character has access to two sets of utility quick-slots that can be accessed with the "3" and "4" key respectively. Each set houses 3 quick-slots. To scroll through your quick-slots, press "3" or "4" multiple times until you land on your desired item. Utility items such as potions with different rarities will occupy different slots. Furthermore, every item present in your quick-slots will show up on your belt. For more information on these items check Consumables and Utility. Be aware that potions will glow in the dark while equipped in your quick-slots, which can easily give away your position.
Getting Prepared
You can enter a dungeon as a group, with a maximum number of 3 members. Normal dungeons can host a maximum of 16 players that will spawn in different rooms. When a match is found, you will be transferred to a lobby where you will wait for up to 3 minutes for the lobby to fill. Characters are immune to damage in this stage and can inspect other players inventories. It is important that you do not use up any of your important cooldowns here since they do not reset after you get teleported to the dungeon. Furthermore, do not drop your items or gear in the lobby, as other players can pick them up and if the match starts and your items are still on the ground, you will spawn in the dungeon without them.
Normal dungeons host Common and Elite grade monsters with an extremely low chance of spawning Nightmare monsters. They feature low drop rates for Epic items and extremely low drop rates for Legendary items. No chance for Unique items.
It is recommended to bring some Consumables or Utility to aid you in your adventure. Consider bringing a 3-stack of bandages or healing potions at the very least.
As of Alpha Playtest 3, gear pieces can now have base attribute points.
Consider buying cheap upgrades to your starter gear from the Merchants to boost your defenses and your attribute points. Starter gear is a tier below anything you can buy or find in the dungeon, so anything will be an upgrade.
A better weapon will enable you to dispatch monsters faster, this increased clear speed means you run less of a risk of taking damage and have more time for looting.
High-Roller
You can enter a High-Roller dungeon as a group, with a maximum number of 3 members. High-Roller dungeons can host a maximum of 16 players that will spawn in different rooms. High Roller dungeons have an entry fee of 70g per player. There will be no kill-feed or in-game timer, although you still have the progress bar that fills up red as time goes by, giving you a rough estimation of how much time is left. There are better drop rates for high quality gear. The only way to obtain unique grade items are from High-Roller dungeons. Monsters will appear at Elite and Nightmare grade.
Get Rich Or Die Trying
Once you escape with your treasures, you can head over to the Merchants to see how much you've earned. You can sell your items to the right merchant. However, if you do not survive and extract from the dungeon, you will not keep any of your loot including your armor, weapons, jewelery and utility items. Your inventory get's reset to the default class starter gear.


